How to Reimage a Surface Pro? Simple Ways for Factory Reset
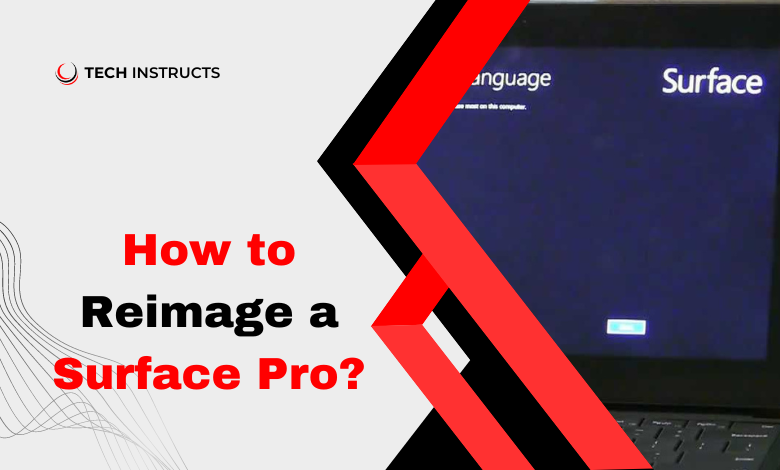
Welcome to the ultimate guide on how to reimage a Surface Pro! Whether you’re experiencing performance issues or simply want a fresh start, reimagining your Surface Pro can breathe new life into your device. In this article, we’ll walk you through the entire process, providing detailed instructions and expert tips to ensure a successful reimaging. Say goodbye to sluggish performance and hello to a revitalized Surface Pro!
How to Reimage a Surface Pro
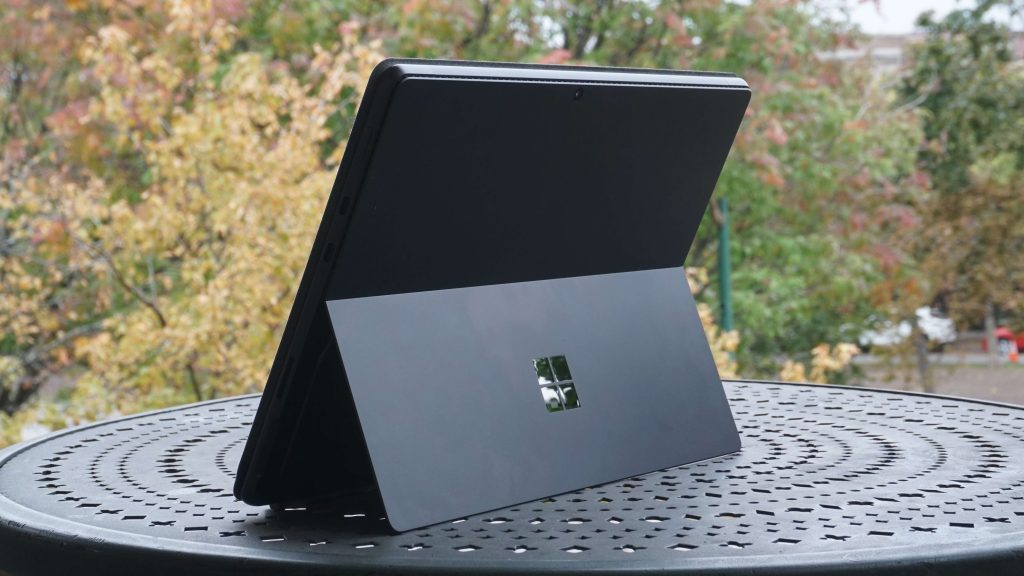
Reimaging a Surface Pro is not as daunting as it may seem. With the right knowledge and tools, you can breathe new life into your device and enhance its performance. Let’s delve into the step-by-step process of reimagining a Surface Pro for optimal functionality.
Assessing Your Device’s Condition
Before embarking on the reimaging or reseting process, it’s crucial to assess your Surface Pro’s current condition. Identify any performance issues, such as slowness, software glitches, or system errors, that may indicate the need for reimaging.
Signs Your Surface Pro Needs Reimaging
- Slow boot-up times
- Frequent crashes or freezes
- Unresponsive software or applications
- Error messages during operation
Backing Up Important Data
Before initiating the reimaging process, ensure that you back up all important data stored on your Surface Pro. This includes documents, photos, videos, and any other files you deem essential. Utilize external storage devices or cloud-based solutions for secure backup.
Best Practices for Data Backup

- Use reputable cloud storage services like OneDrive or Google Drive
- Transfer files to an external hard drive or USB flash drive
- Verify the integrity of your backups to prevent data loss
SUGGESTED POST: Microsoft Surface Dial Review Updated 2024
Creating a Recovery Drive
A recovery drive is a vital tool that allows you to troubleshoot and restore your Surface Pro in case of system failures or errors. Follow these steps to create a recovery drive:
- Navigate to Settings > Update & Security > Recovery
- Click on “Create a recovery drive” and follow the on-screen instructions
- Choose between “Back up system files to the recovery drive” or “Only backup system files to the recovery drive”
- Select the appropriate USB drive and click “Next”
- Review the summary of your selections and click “Create”
- Wait for the process to complete and label the recovery drive for future reference
Downloading Surface Pro Drivers and Firmware

To ensure smooth operation post-reimaging, it’s essential to download the latest drivers and firmware for your Surface Pro. Microsoft regularly releases updates to improve device performance and address software vulnerabilities.
Obtaining Drivers and Firmware Updates
- Visit the official Microsoft website or use the Surface app to check for updates
- Download and install the latest drivers and firmware compatible with your Surface Pro model
Performing a System Reset
A system reset is a comprehensive solution for resolving persistent software issues and restoring your Surface Pro to its factory settings. Follow these steps to perform a system reset:
- Go to Settings > Update & Security > Recovery
- Under “Reset this PC,” click “Get started” and choose the appropriate reset option
- Decide whether to keep your files or remove everything
- Follow the on-screen instructions to initiate the reset process
- Allow your Surface Pro to restart and complete the reset process
- Follow the setup prompts to configure your device preferences
Reinstalling Essential Software and Applications

After reimaging your Surface Pro, reinstall essential software and applications to customize your device according to your needs. Ensure that you download programs from reputable sources to avoid malware or security risks.
Recommended Software and Applications
- Microsoft Office Suite (Word, Excel, PowerPoint)
- Web browsers (Google Chrome, Mozilla Firefox)
- Antivirus software for enhanced security
- Productivity tools and utilities (Adobe Acrobat Reader, 7-Zip)
Optimizing System Settings
To maximize performance and efficiency, tweak your Surface Pro’s system settings post-reimaging. Adjust power settings, disable unnecessary startup programs, and optimize display and sound settings for an enhanced user experience.
System Settings Optimization Tips
- Enable battery saver mode to conserve power
- Disable animations and visual effects to improve speed
- Adjust screen brightness and resolution for optimal viewing comfort
- Customize sound preferences for immersive audio quality
Performing Periodic Maintenance
Maintaining your Surface Pro is essential for prolonging its lifespan and ensuring smooth operation. Implement regular maintenance tasks, such as disk cleanup, software updates, and malware scans, to keep your device running smoothly.
Recommended Maintenance Practices
- Run disk cleanup to remove temporary files and optimize storage space
- Install software updates and security patches promptly
- Use reputable antivirus software to scan for and remove malware
- Perform hardware diagnostics to identify and address potential issues
RECOMMENDED POST: Can You Charge a Fitbit with a Phone Charger?
Conclusion
Reimaging a Surface Pro is a straightforward process that can breathe new life into your device and optimize its performance. By following the outlined steps and best practices, you can ensure that your Surface Pro remains best for you.
FAQs About How to Reset a Surface Pro?
How long does the reimaging process take?
The duration of the reimaging process can vary depending on your Surface Pro model and system specifications. On average, it may take anywhere from 30 minutes to an hour to complete.
Will reimaging erase all my files?
Yes, reimaging your Surface Pro will erase all data stored on the device. It’s essential to back up any important files before proceeding with the reset process.
Do I need special software to reimagine my Surface Pro?
No, the Surface Pro comes with built-in recovery options that allow you to reimagine the device without the need for additional software.
Can reimaging fix hardware issues?
Reimaging is primarily designed to address software-related issues. If you’re experiencing hardware problems, such as a malfunctioning display or battery issues, reimaging may not resolve them.
Is it necessary to reinstall all my apps after reimaging?
Ensure that you have access to installation files or download links for your essential software.

