How to Change Input on Roku TV without Remote?
Do you constantly lose your Roku TV remote? It is easy and quick to change the input on your Roku TV without a remote control. With just a few simple steps, you can seamlessly switch between your gaming console, cable box, or any other connected device, all without needing a physical remote.
Roku TV is a popular streaming device that allows users to access a vast library of content from popular streaming services like Netflix, Hulu, and Amazon Prime Video. Many entertainment enthusiasts have become familiar with Roku TV because of its user-friendly interface and affordable price. However, what happens when you cannot Change Input on Roku TV without Remote. In this case, knowing how to change the input on Roku TV without a remote becomes crucial.
If you want to change the input on your Roku TV without a remote, you must use the buttons on the TV itself. The television usually has these buttons on the side or bottom and they are labeled accordingly. By pressing the “Input” or “Source” button, you can cycle through the various input options until you find the one you want. By understanding the different input options and how to navigate them, you can maximize your Roku TV experience and enjoy all of the entertainment it has to offer.
Alternatively, you can also use the Roku mobile app as a virtual remote to change the input on your TV:
- Open the Roku app on your mobile device.
- Use the same Wi-Fi network as your Roku TV to connect the app.
- Tap the remote icon in the app to access the virtual remote.
- To select inputs, tap the “Input” button.
- Choose the input option you want.
How to Change Input on Roku TV without Remote?
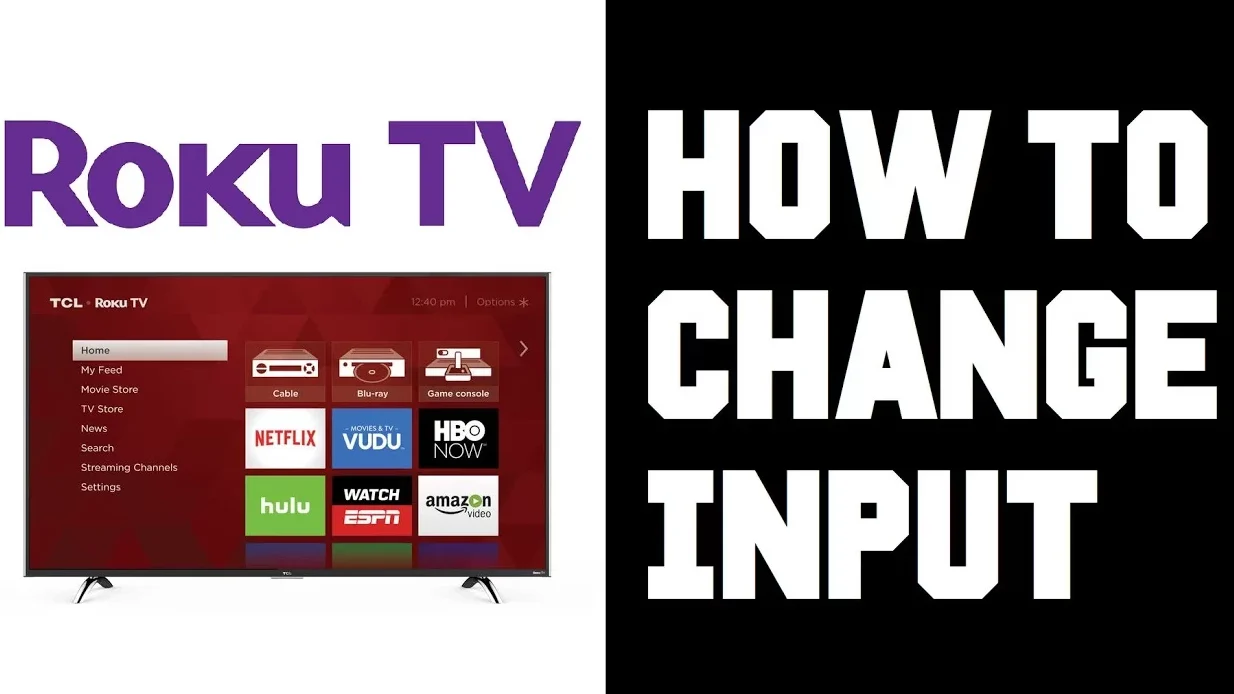
Changing the input on a Roku TV without a remote is a necessary skill for any Roku TV owner. While it may seem daunting at first, it is actually quite easy to do using the physical buttons on the TV.
Related Post: How To Fix Pressure Spots On LCD Screen?
By Using the Buttons on the TV
Before attempting to change the input using the physical buttons on the TV, it is important to understand the button layout. It is common for Roku TVs to have physical buttons for input, power, volume, and channel on the side or bottom of the television.
Locate the Input Button on the Roku TV
A Roku TV without a remote can be changed by simply pressing the input button. On most televisions, there is an input button or a source button that appears on the side or bottom.
Press the Input Button
Once you have located the input button, press it repeatedly until the desired input option is highlighted on the screen. Roku TVs typically have a list of input options such as HDMI1, HDMI2, AV, and others.
Select the Input Option
After highlighting the desired input option, use the arrow buttons to select the input option. This will allow you to switch to the desired input and start watching content from your connected device.
Confirm the Selection
You can confirm your selection by pressing the OK button once you have selected an input option. Your Roku TV will now switch to the selected input, and you can enjoy content from your connected device.
The main advantage of using the TV buttons is that it is a quick and easy way to change the input without having to search for a remote. It is also useful if the remote has run out of batteries or is not working correctly.
By Using the Roku Mobile App
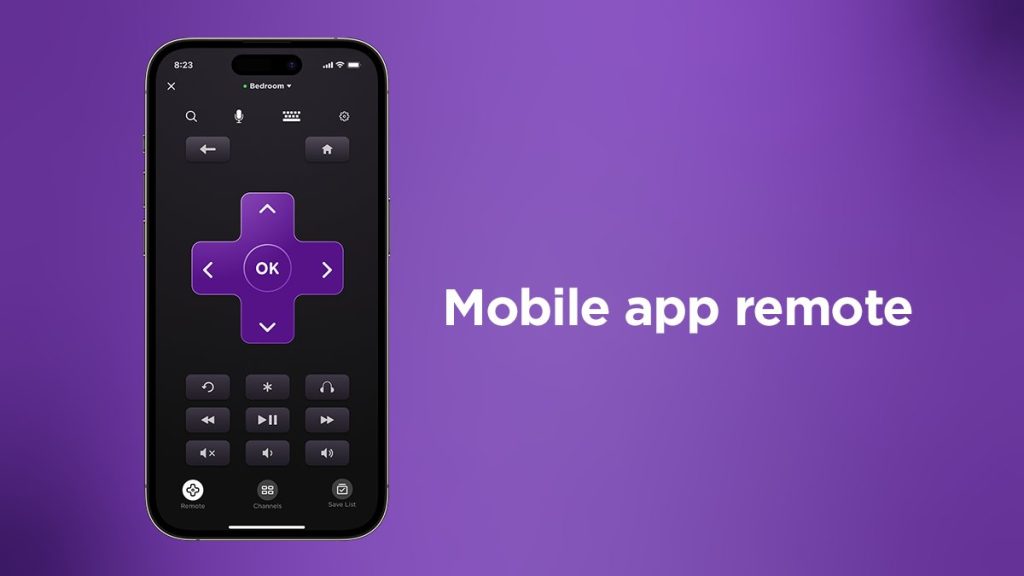
With the Roku mobile app, you can also adjust the input without a remote on a Roku TV. The app acts as a virtual remote that can be used to control Roku TVs from their smartphones or tablets. The app is also useful if your Roku TV is mounted in a hard-to-reach location, making it difficult to access the physical buttons.
Android and iOS devices are both compatible with Roku’s mobile app. It allows users to control their Roku TV from their smartphone or tablet, including changing the input. Roku TV and the app must be connected to the same Wi-Fi network in order to be used as a virtual remote.
Step 1: Download and Open the Roku Mobile App
You can install the Roku mobile app on your smartphone or tablet by visiting the App Store or Google Play Store. Start using the app once it installs.
Step 2: Connect the App to Your Roku TV
You can use the Roku mobile application to connect to a Roku device by selecting the “Connect to Roku Device” option. The app will scan your network for Roku devices that are available on your network and display a list of those devices. In order to connect the Roku app to your TV, you will need to select your Roku TV from the list.
Step 3: Tap the Remote Icon
Once connected, tap the remote icon located at the bottom of the app. This will open the virtual remote control for your Roku TV.
Step 4: Tap the Input Button
On the virtual remote control, tap the “Input” button. This will open the input selection menu on your Roku TV.
Step 5: Select the Desired Input Option
Choose the input option you want from the input selection menu by scrolling through the available options. Tap on the option to select it. Your Roku TV will automatically switch to the selected input, and you can begin watching content from your connected device.
By Using a Smart Speaker
In order to change the input on a Roku TV, you can use a smart speaker such as Amazon Echo or Google Home rather than a remote control. Many smart speakers come with voice assistant technology that allows you to control your Roku TV through voice commands. By enabling the Roku skill on your smart speaker and linking it to your Roku TV, you can change the input using just your voice.
Step 1: Enable the Roku Skill
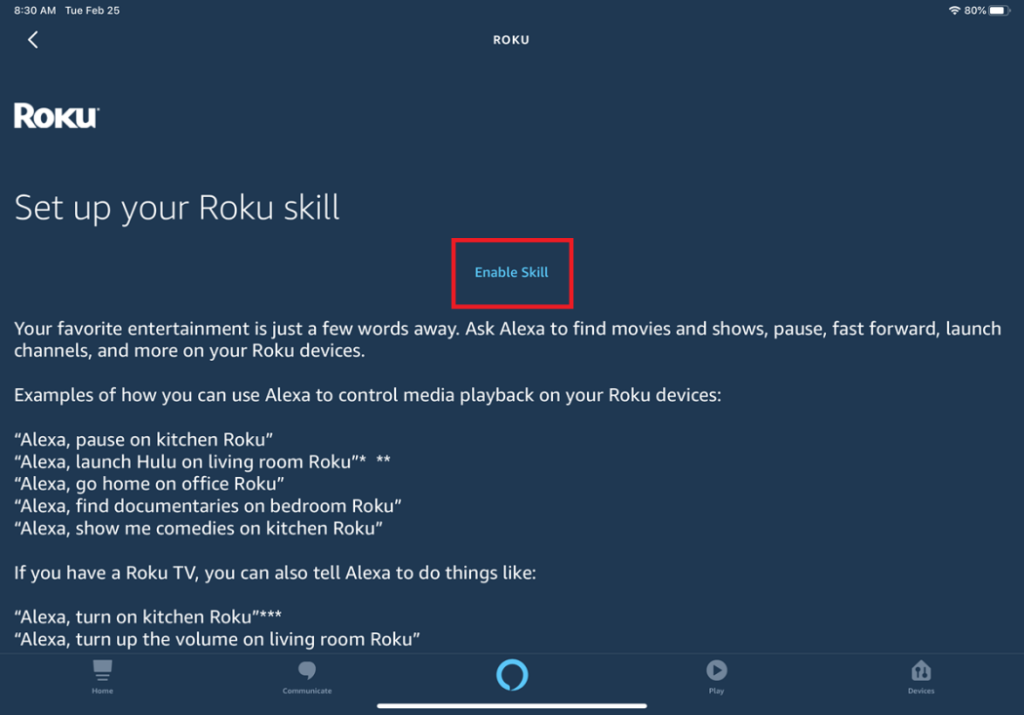
You can enable the Roku skill on your smartphone or tablet by opening the Alexa app or Google Home app. This will allow you to control your Roku TV using your smart speaker.
Step 2: Link Your Roku Account
Link your Roku account to your smart speaker using the Alexa or Google Home app.
Step 3: Give a Voice Command
Once your smart speaker is connected to your Roku TV, give a voice command to change the input. For example, say “Alexa, change the input to HDMI1” or “Hey Google, switch to the Blu-ray player.”
Step 4: Confirm the Selection
As soon as you give the voice command, your Roku TV will switch to the input that you selected. If you need to make any additional selections, such as choosing the correct HDMI input, use the Roku mobile app or a physical remote to confirm the selection.
By Using HDMI-CEC
HDMI-CEC is a feature that is available on most modern televisions, including Roku TVs. It allows devices to connect via HDMI, such as a Blu-ray player or game console, to communicate with each other and can control using a single remote or device.
Step 1: Enable HDMI-CEC
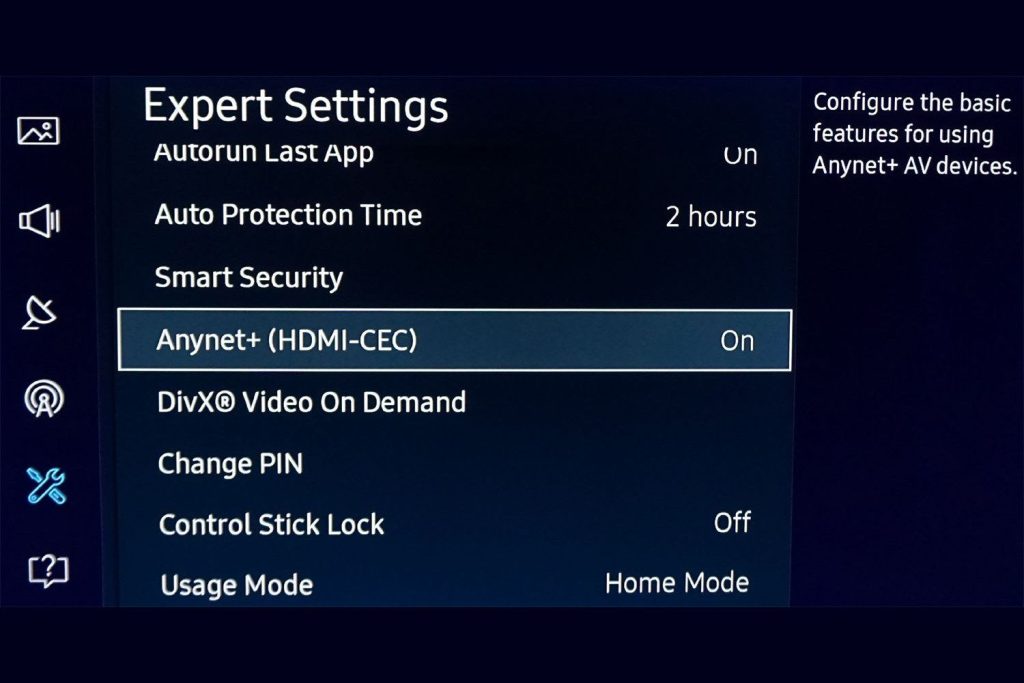
Your Roku TV and any other HDMI-connected devices should be configured with HDMI-CEC. The settings menu of each device usually allows you to do this.
Step 2: Use Another Device to Control Your Roku TV
Use another device, such as a physical remote or the Roku mobile app, to select the input option that you want to use on your Roku TV.
Step 3: Switch to HDMI-CEC
Using the same remote or device, switch to the HDMI-CEC input option. By connecting the HDMI device to your Roku TV, you will be able to control it using the device.
Step 4: Change the Input Using the Connected Device
Using the device connected via HDMI, navigate to the input option that you want to use on your Roku TV and select it. Your Roku TV will automatically switch to the selected input, allowing you to watch content from your connected device.
By Using a Gaming Console
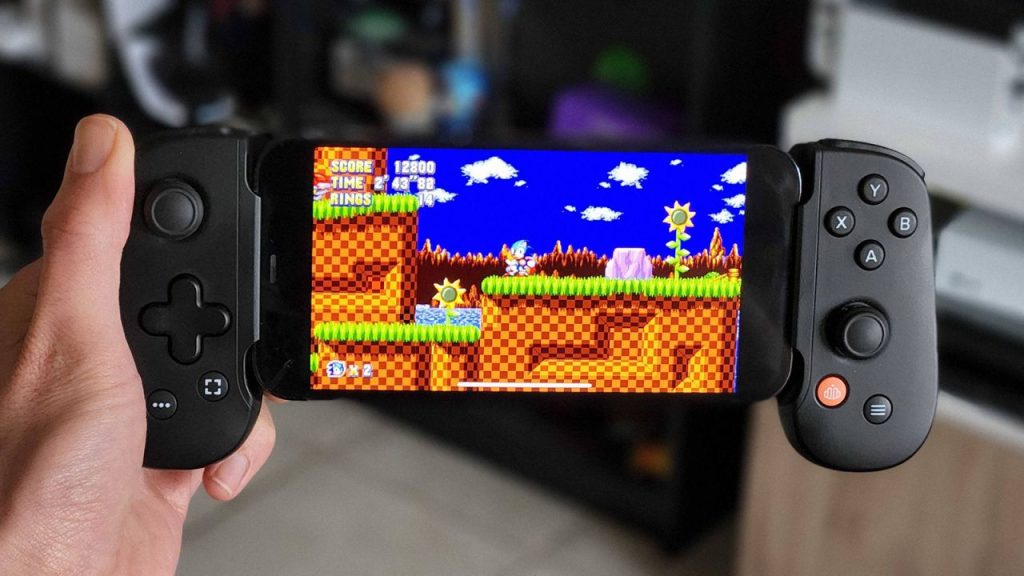
If you have a gaming console connected to your Roku TV, you can use the console to change the input. This is because most gaming consoles have their own remote or controller that can be used to navigate to the input option on your Roku TV.
Step 1: Turn on Your Gaming Console
Before turning on your gaming console, make sure that it is connected via HDMI to your Roku TV.
Step 2: Use the Gaming Console Remote or Controller
Use the remote or controller for your gaming console to navigate to the input option on your Roku TV.
Step 3: Select the Desired Input Option
Using the same remote or controller, select the desired input option. Your Roku TV will automatically switch to the selected input, allowing you to watch content from your connected device.
By Using a Computer
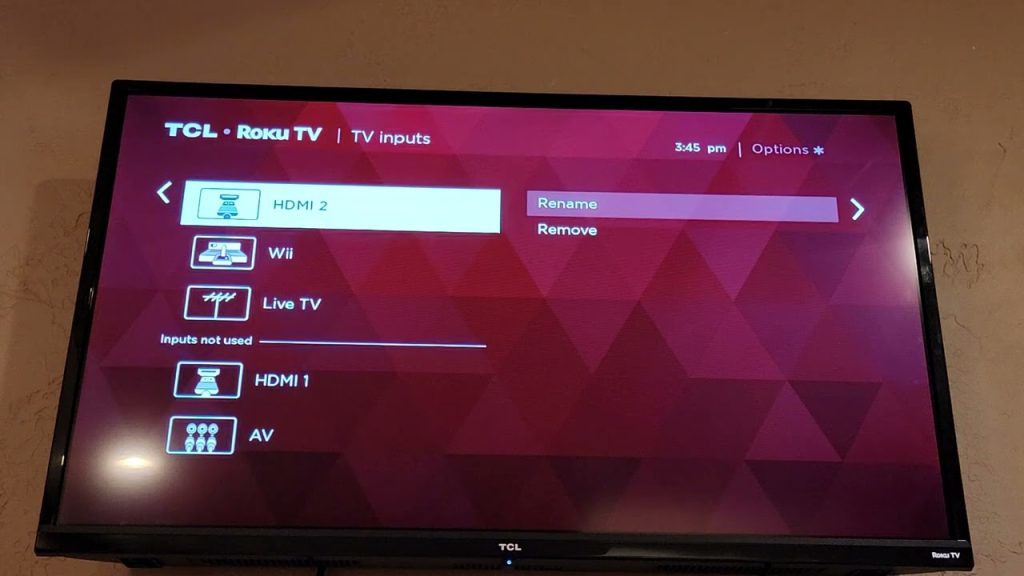
Having a computer connected to your Roku TV may allow you to change the input by using the computer. This is because most computers have their own keyboard or mouse that can be used to navigate to the input option on your Roku TV.
Step 1: Turn on Your Computer
Make sure that your computer is turned on and connected to your Roku TV using an HDMI cable or other compatible connection.
Step 2: Access the Input Settings
Using your computer keyboard and mouse, navigate to the input settings of your Roku TV.
Step 3: Select the Input Option
Select the input option that you wish to use, such as HDMI or VGA, by clicking on it with your mouse.
Step 4: Confirm the Selection
Once you have selected the input option, your Roku TV will automatically switch to it. If there are multiple input options available, use the keyboard or mouse to select the appropriate one.
Troubleshooting Common Issues

Troubleshooting common issues when changing input on a Roku TV without a remote involves checking connections, selecting the correct input, ensuring compatibility, and considering the need for a remote.
TV Not Responding to Input Change
You may have a connection issue between your Roku TV and the device if your Roku TV is not responding to input changes. The HDMI cable should be unplugged from both the TV and the device and then plugged back in. If the problem persists, you may want to try using a different HDMI cable.
Incorrect Input Selected
If you selected the wrong input, you can navigate back to the input settings and select the correct one. If you want to use a different device, make sure it is connected and turn on.
Input Option Not Displayed
If the input option you want to use is not displayed, there may be a problem with the device or the connection. The device should be turned on and connected to the TV. If the input settings have not been changed, you might need to reset the device and re-check them.
Compatibility Issues
Not all devices are compatible with all Roku TVs. Check the device’s compatibility with the TV before attempting to connect it. If the device is not compatible, you may need to use a different device or remote to change the input.
Need for a Remote
If you are unable to change the input using any of the methods described above, you may need to purchase a new remote or use a universal remote that is compatible with your Roku TV.
Also Recommended: How to Get Someone’s Instagram Account Deleted?
Final Words
Changing input on a Roku TV without a remote may seem challenging at first, but there are a variety of ways to do so. Using the physical buttons on the TV, the Roku mobile app, a smart speaker, HDMI-CEC, a gaming console, or a computer are all effective ways to change input without a remote. However, it is important to keep in mind that not all methods may work for everyone, and troubleshooting common issues may be necessary. You can take a guide from here by Input on Roku TV.
FAQs about How to Change Input on Roku TV without a Remote?
Here are some FAQs on How to Change Input on Roku TV without a Remote:
What is the easiest way to change the input on a Roku TV without a remote?
Using the physical buttons on the TV or the Roku mobile app is generally considered the easiest method for changing input without a remote.
Can I use any smartphone to download the Roku mobile app?
With Roku’s mobile app, you can watch movies and shows on your smartphone whether it is an iOS device or an Android one.
Can I use a smart speaker to change input on my Roku TV without a remote?
Yes! You can use voice commands to change the input on a Roku TV if it is compatible with smart speakers.
What should I do if my Roku TV is not responding to the input change?
The HDMI cable should be unplugged from both the TV and the device and then replugged. Also, if you are still experiencing issues, you can try using a different HDMI cable to test if that will resolve the problem.


