Is a cracked or malfunctioning screen putting a damper on your Galaxy Tab S3 experience? Fear not! In this guide, we’ll walk you through the essential steps for replacing your tablet’s screen, allowing you to restore its pristine display and functionality. Whether you’re a tech novice or a seasoned DIY enthusiast, our comprehensive instructions will ensure a smooth and successful screen replacement process. Say goodbye to cracks and glitches, and hello to a revitalized Galaxy Tab S3!
Understanding the Damage
Assessing the extent of the damage is crucial before embarking on a screen replacement journey. Whether your Galaxy Tab S3 screen is marred by minor scratches or extensive cracks, understanding the nature of the damage will guide your repair efforts.
Before diving into the screen replacement process, take a moment to evaluate the damage to your Galaxy Tab S3. Surface scratches may seem inconsequential, but deep cracks can impair both the visual appeal and functionality of your device. By assessing the severity of the damage, you can determine the appropriate course of action for replacement.
Gathering Necessary Tools
Before you begin, ensure you have all the necessary tools at your disposal. From precision screwdrivers to a heat gun or hairdryer, gathering the right tools will streamline the screen replacement process and minimize the risk of damage to your device.Preparation is key when it comes to screen replacement. Before you start dismantling your Galaxy Tab S3, gather all the tools you’ll need for the job. This includes precision screwdrivers, a heat gun or hairdryer to loosen adhesive, and a soft prying tool to carefully remove the old screen. Having the right tools on hand will make the process much smoother and more efficient.
Disassembling the Device
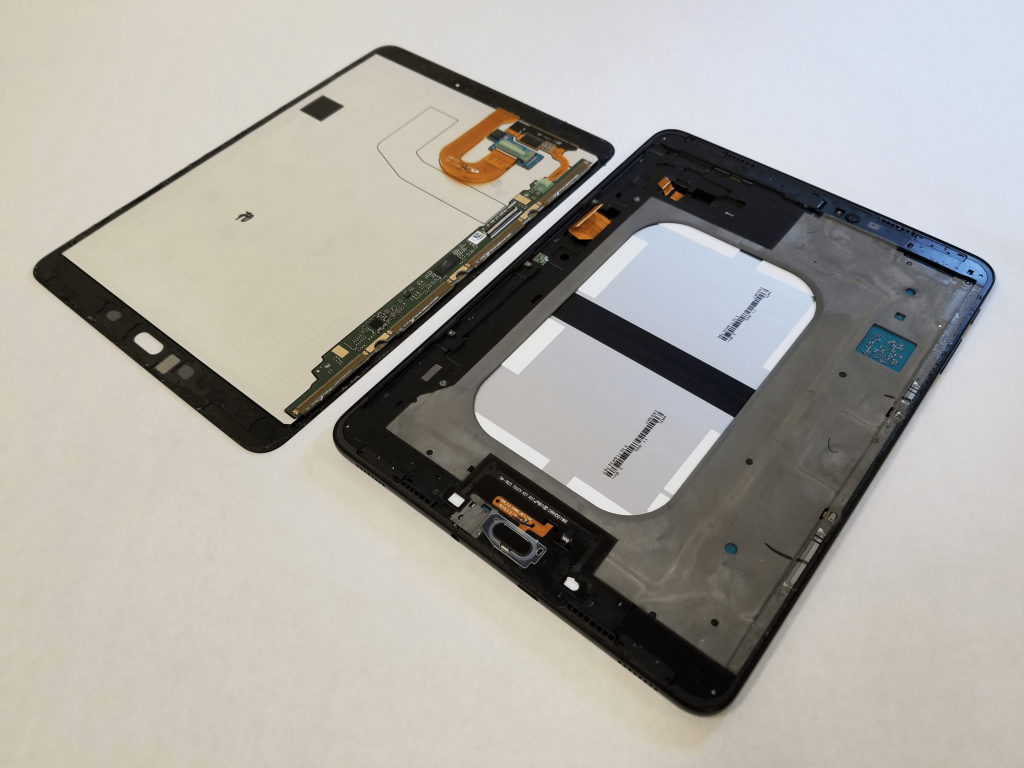
With your tools in hand, it’s time to carefully disassemble your Galaxy Tab S3. Start by powering off the device and removing any external accessories. Then, using a heat gun or hairdryer, gently warm the edges of the screen to soften the adhesive before carefully prying off the old screen.
Disassembling your Galaxy Tab S3 may seem daunting, but with the right approach, it’s a manageable task. Begin by powering off the device and removing any external accessories, such as cases or screen protectors. Next, use a heat gun or hairdryer to apply gentle heat to the edges of the screen, softening the adhesive beneath. With a soft prying tool, carefully work your way around the edges, gradually lifting the old screen from the device.
SUGGESTED POST : How to Get Cracks Off your Phone?
Replacing the Screen
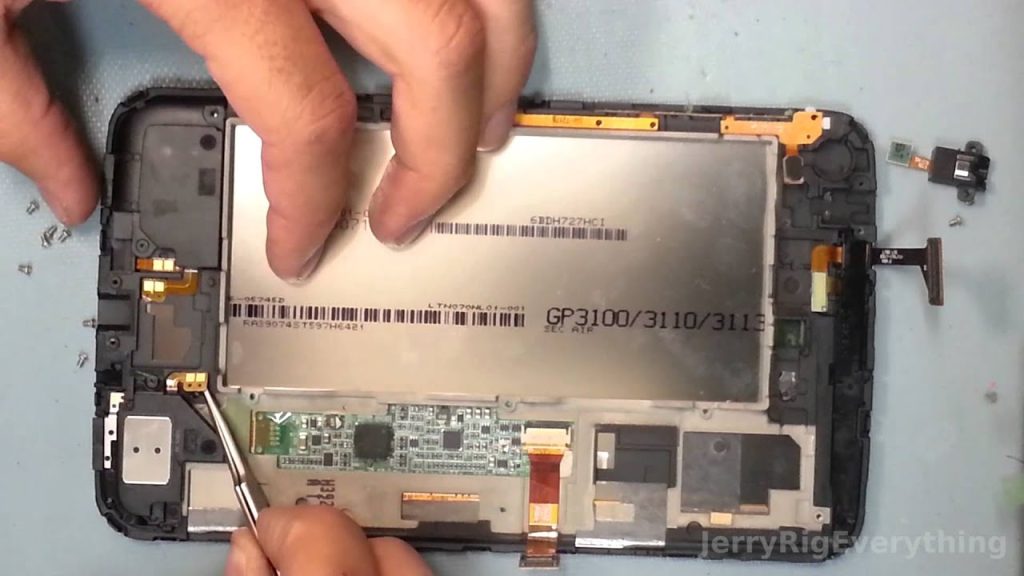
Once the old screen is removed, it’s time to install the new one. Align the replacement screen with the device’s frame, ensuring that all connectors and components are properly seated. Then, carefully reattach any cables or ribbons before securing the new screen in place.
With the old screen out of the way, it’s time to install the new one. Carefully align the replacement screen with the frame of your Galaxy Tab S3, taking care to ensure that all connectors and components line up correctly. Once in position, gently press down on the edges to secure the screen in place. Finally, reattach any cables or ribbons, ensuring a snug and secure fit.
Testing the Replacement
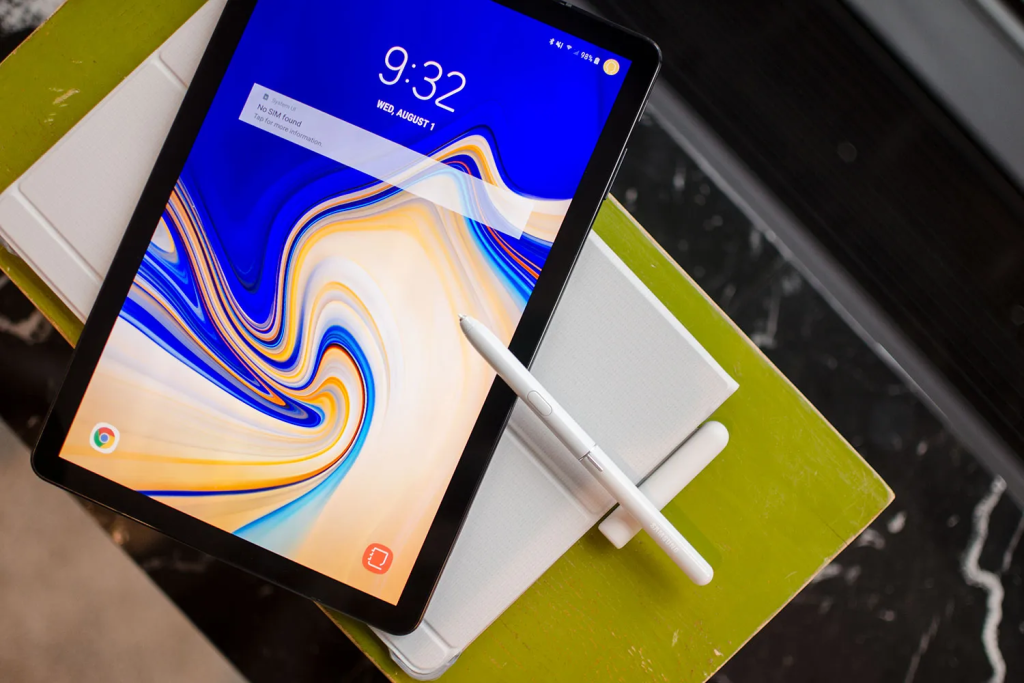
Before reassembling your Galaxy Tab S3, it’s crucial to test the new screen to ensure everything is functioning correctly. Power on the device and perform a visual inspection, checking for any anomalies or issues with the display.
With the new screen in place, it’s time to put it to the test. Power on your Galaxy Tab S3 and carefully inspect the display for any abnormalities or issues. Check for dead pixels, uneven backlighting, or touchscreen responsiveness problems. If everything looks good, you’re ready to move on to the final step.
Reassembling the Device
With the replacement screen successfully installed and tested, it’s time to reassemble your Galaxy Tab S3. Carefully reattach any remaining components, such as the back cover and screws, ensuring everything is securely fastened.
Now that the hard part is over, it’s time to put your Galaxy Tab S3 back together. Carefully reattach the back cover, ensuring that all clips and connectors are properly aligned. Then, secure the cover in place with the screws you removed earlier. Take your time during this step to avoid damaging any components or connectors.
Conclusion
With the help of our step-by-step guide, replacing the screen on your Galaxy Tab S3 is a manageable task that can breathe new life into your device. Whether you’re tackling the repair yourself or seeking professional assistance, following these essential steps will ensure a successful screen replacement process. Say goodbye to cracked screens and hello to a pristine display with our foolproof instructions!
RECOMMENDED POST : LG V40 ThinQ Screen Replacement Expert Guide
FAQs About Galaxy Tab S3 Screen Replacement
How much does it cost to replace a Galaxy Tab S3 screen?
The cost of replacing a Galaxy Tab S3 screen can vary depending on factors such as the extent of the damage and whether you opt for DIY or professional repair services. DIY screen replacement kits are available for as little as $50, while professional repairs can range from $100 to $300 or more.
Is it difficult to replace a Galaxy Tab S3 screen yourself?
While replacing a Galaxy Tab S3 screen requires some technical skill and precision, it is possible to do it yourself with the right tools and instructions. However, if you’re not comfortable performing the repair yourself, it’s best to seek professional assistance to avoid causing further damage to your device.
Can I use any replacement screen for my Galaxy Tab S3?
It’s essential to use a compatible replacement screen specifically designed for your Galaxy Tab S3 model to ensure proper fit and functionality. Using an incompatible screen may result in issues such as poor display quality or touchscreen responsiveness problems.
How do I prevent cracks on my phone screen?
To prevent cracks on your phone screen, consider investing in a durable phone case and screen protector. Additionally, avoid placing your phone in precarious situations, such as loose pockets or crowded bags, to minimize the risk of accidental damage.
Is it worth repairing a cracked phone screen?
Yes, repairing a cracked phone screen is often worth the investment, especially if the damage is affecting the functionality of your device or detracting from its usability. Ignoring cracks can lead to further damage and may compromise the integrity of your phone.
Can toothpaste really remove scratches from a phone screen?
Toothpaste can help diminish the visibility of minor scratches on a phone screen due to its mild abrasive properties. However, it’s essential to exercise caution and perform a patch test before applying toothpaste to your device, as abrasive compounds may cause additional damage.
How long does it take to repair a cracked phone screen?
The time required to repair a cracked phone screen varies depending on the severity of the damage and the availability of replacement parts. In some cases, screen repairs can be completed within a few hours, while more extensive damage may necessitate overnight repairs.
Will insurance cover screen repairs for my phone?
Many smartphone insurance plans offer coverage for screen repairs and replacements as part of their comprehensive protection packages. However, it’s crucial to review the terms and conditions .