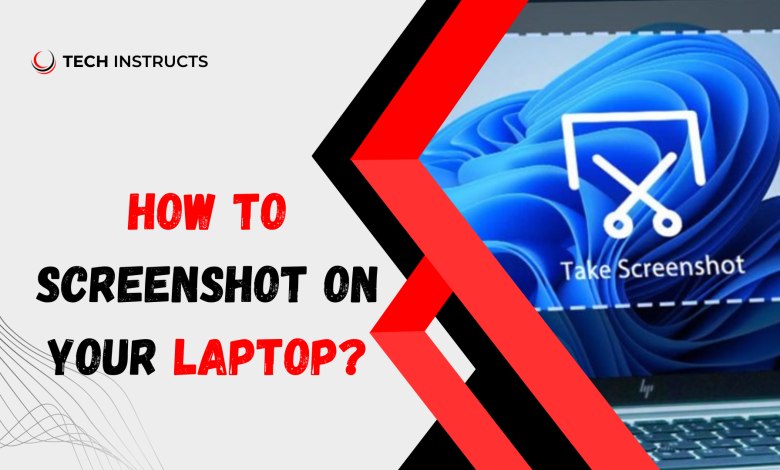
In the fast-paced digital age, whether you need How To Take Screenshoot On Your Laptop, save an important piece of information, or simply troubleshoot an issue with technical support, knowing the best methods to screenshot on your laptop is invaluable. In this comprehensive guide, we’ll walk you through various techniques, shortcuts, and tools that will empower you to effortlessly capture and share what’s on your laptop screen.
Understanding the Basics Built-in Shortcuts

Print Screen (PrtScn) Key A Fundamental Approach
The Print Screen key on your laptop keyboard is a powerful tool for capturing the entire screen or just a specific window. By pressing “PrtScn” or “PrtSc,” you can capture the entire screen, while “Alt + PrtScn” allows you to screenshot only the active window. This built-in feature is universal across Windows laptops and provides a quick and straightforward way to capture your screen.
Command + Shift + 3 (Mac) for Apple Users
For MacBook users, mastering the shortcut Command + Shift + 3 is essential. This combination captures the entire screen and saves the screenshot on your desktop. Additionally, Command + Shift + 4 allows you to select a specific area for capture. Familiarizing yourself with these shortcuts will make you a screenshot maestro on your Apple device.
Advanced Techniques Specialized Tools

Snipping Tool (Windows) for Precision
Windows users can elevate their screenshot game by utilizing the Snipping Tool. This tool allows you to capture specific sections of your screen with precision. Simply open the Snipping Tool, select the type of snip you want (free-form, rectangular, window, or full-screen), and capture the content you need. This method is particularly useful when you want to focus on a specific area or object.
MUST READ : How to Copy and Paste on Xbox?
Snip & Sketch (Windows) for Annotating Screenshots
Taking a step further, Windows offers the Snip & Sketch feature, combining screenshot capture with annotation capabilities. This tool enables you to mark up your screenshots with arrows, highlights, and text, adding clarity and context to your captures before sharing them.
Cloud-Based Solutions Seamless Integration

Lightshot: A Cross-Platform Screenshot Tool
For a versatile and user-friendly experience, consider using Lightshot. This cross-platform tool allows you to capture screenshots, edit them on the spot, and instantly share them. Its intuitive interface and convenient features make it a go-to choice for users who value efficiency and simplicity in their screenshot process.
Snagit: Professional-Grade Screenshot Capture
When precision and professional-grade editing are paramount, Snagit stands out as a top-tier option. This premium tool offers a plethora of features, including scrolling capture, video recording, and advanced editing capabilities. While it comes with a price tag, the value it adds to your screenshot workflow is well worth the investment.
Troubleshooting Common Challenges and Solutions

Dealing with Unresponsive Screenshots
If you encounter issues with capturing screenshots, such as unresponsive shortcuts or malfunctioning tools, consider restarting your device or updating your operating system. Outdated software can often lead to glitches in the screenshot functionality.
Storage Management for Efficient Screenshots
As you become proficient in taking screenshots, managing your storage becomes crucial. Regularly declutter your desktop and designated screenshot folders to ensure you can quickly locate and utilize your captures when needed.
SUGGESTED POST : How to Reset a Work Laptop for Personal Use?
Final Words
In conclusion, mastering the art of taking screenshots on your laptop involves understanding built-in shortcuts, exploring specialized tools, and leveraging cloud-based solutions for seamless integration. By incorporating these techniques into your workflow, you’ll not only boost your efficiency but also enhance your communication through clear and concise visual representations of your screen.
FAQs About How To Take Screenshot on Your Laptop?
How do I take a screenshot of a specific area on my Windows laptop?
To capture a specific area, use the Snipping Tool on your Windows laptop. Open the tool, select the desired snip type, and capture the precise content you need.
Are there any advanced screenshot tools for Mac users?
Yes, Mac users can utilize the Command + Shift + 4 shortcut for selecting specific areas, and tools like Snagit offer advanced features like scrolling capture and professional-grade editing.
What should I do if my screenshot shortcuts are not working?
If your shortcuts are unresponsive, try restarting your device or updating your operating system. Outdated software can lead to glitches in screenshot functionality.
How can I manage storage efficiently for my screenshots?
Regularly declutter your desktop and designated screenshot folders to maintain efficient storage management. This ensures quick access to your captures when needed.