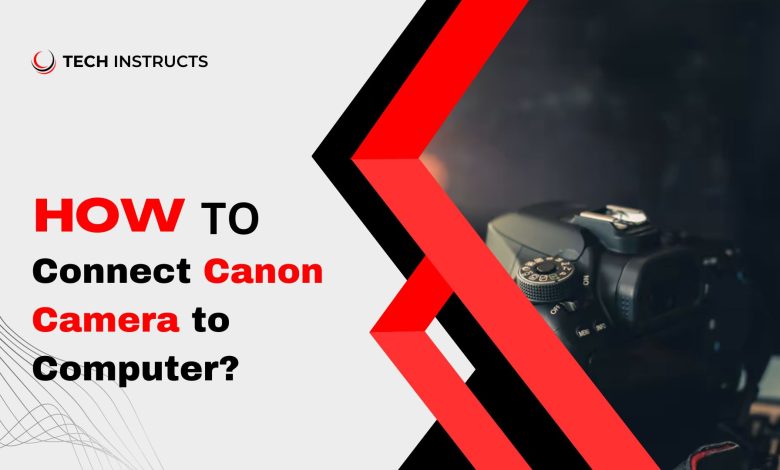
Do you enjoy capturing the moments of life with your Canon camera? Are you looking for a way to edit, store, and share your photos on your computer? If so, it is important to know how to connect your Canon camera to your computer for live streaming. In this article, we will provide you with a comprehensive guide on how to connect your Canon camera to your computer, no matter what type of camera or computer you have.
Connecting your Canon camera to your computer can be a game-changer for your photography experience. You can transfer your photos to your computer, where you can edit them using your favorite photo editing software, and store them safely. This way, you will have more space on your camera’s memory card to capture more precious moments. Moreover, by connecting your camera to your computer, you can control your camera remotely, making it easier to take photos from different angles or hard-to-reach places.
The process of connecting your Canon camera to your computer might seem complicated at first, but it is actually quite simple. It depends on the type of camera and computer you have and which method you can use. USB cables, WiFi, and memory card readers are all options for connecting your camera to your computer.
Whether you are a professional photographer or just starting, knowing how to connect your Canon camera to your computer is essential if you want to take your photography to the next level. With this knowledge, you can easily transfer your photos to your computer, edit them to your liking, and share them with the world. So, grab your camera and computer, and let’s get started!
How to Connect Canon Camera to Computer Using USB?
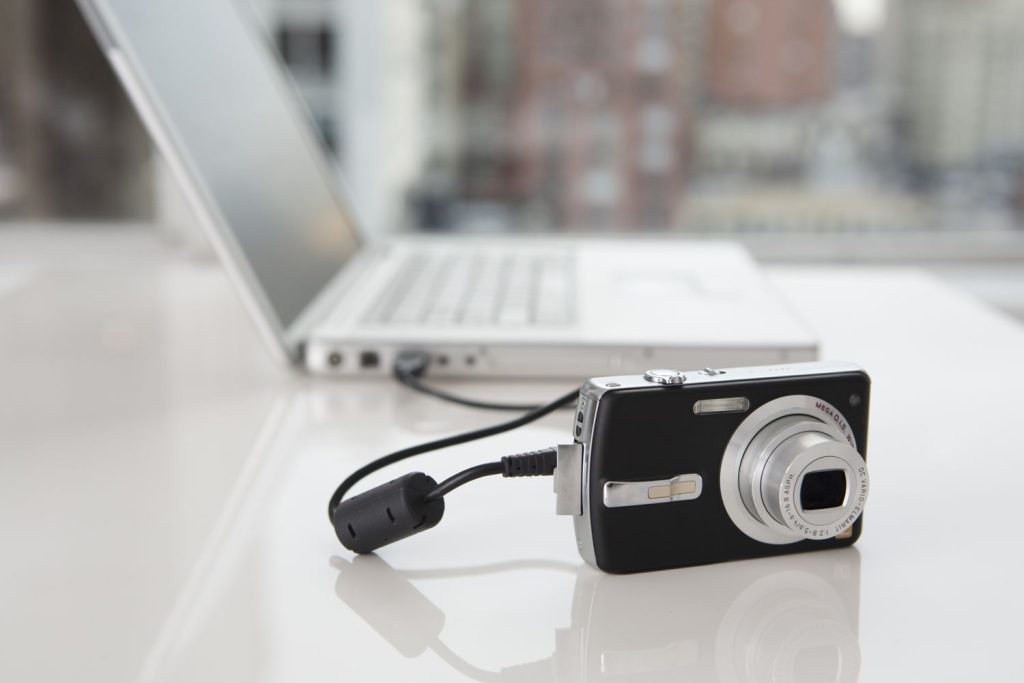
In order to take good photographs, you must connect your Canon camera to your computer. The purpose of this article is to demonstrate how to connect a Canon camera via a USB cable to a computer.
First Step is: Preparing to Connect Your Canon Camera
- Charge the battery of your camera fully before using it.
- Make sure your computer has a USB port.
- Make sure you have your Canon camera’s USB cable handy.
- Your camera should be turned off.
Part 2: Connecting Your Canon Camera to Your Computer
- Your camera should be connected to one end of the USB cable.
- The other end of the USB cable should be connected to the USB port on your computer.
- You need to turn on your camera.
Transferring Photos and Videos from Your Camera to Your Computer
- You should be able to detect your camera automatically by your computer.
- On your computer, launch File Explorer.
- Look for your Canon camera’s name under the “This PC” or “Computer” section.
- Click on your camera’s name to open it.
- Choose the photos and videos you want to transfer.
- Drag and drop the selected files to your desired location on your computer.
Step 4: Editing Your Photos and Videos on Your Computer
- Make sure you open your photos and videos with your preferred photo editing software if you plan to edit them.
- You can crop, and adjust brightness, contrast, and other settings as per your requirement.
- Then save your edited videos and photos to the location of your choice.
Step 5: Safely Disconnecting Your Canon Camera from Your Computer
- Before disconnecting your camera from your computer, make sure you have transferred all your photos and videos.
- You can remove hardware safely by clicking the “Safely Remove Hardware” icon in the taskbar.
- From the list of connected devices, select your Canon camera.
- Click on “Eject” to safely disconnect your camera from your computer.
Related Post: How to Use Varifocals With Computers?
How to Connect Canon Camera to a Computer Using Wifi?
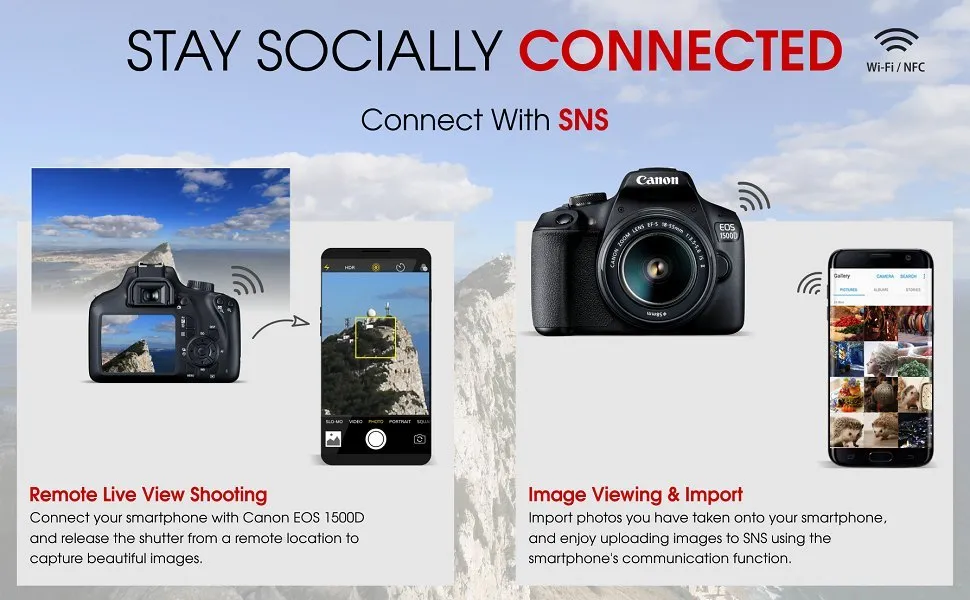
Connecting your Canon camera to your computer via Wi-Fi can be a convenient and efficient way to transfer your photos. In this section, we will provide you with step-by-step instructions on how to connect your Canon camera to your computer using Wi-Fi.
First Step is: Turn on Wi-Fi on Your Canon Camera
- On your Canon camera, press the Menu button.
- To access the Wi-Fi menu, use the arrow buttons.
- On the Wi-Fi menu, select the Wi-Fi function.
- Connect to a device by selecting “Connect to a device”.
Second Step is: Use your Computer to Connect your Canon Camera
- You must connect your Canon camera to the same Wi-Fi network as your computer.
- Select your Canon camera in the Wi-Fi settings on your computer.
- You will need to enter the password displayed on the screen of your Canon camera.
Step 3: Open the Canon Camera Connect app on your computer
- The Canon Camera Connect app can be downloaded and installed on your computer.
- Select the Canon camera from the device list.
- Make sure your camera is connect to the app before using it.
Step 4: Transfer photos from your Canon camera to your computer
- Select the photos you wish to transfer in the Canon Camera Connect app.
- Select “Download” and click it.
- Ensure that the transfer has been completed.
How to Connect Canon Camera to Computer Using Hdmi?
To take full advantage of your camera’s capabilities, you may want to connect it to your computer using an HDMI cable. This way, you can transfer and save your media files, edit them, or even use your computer as a live monitor while shooting.
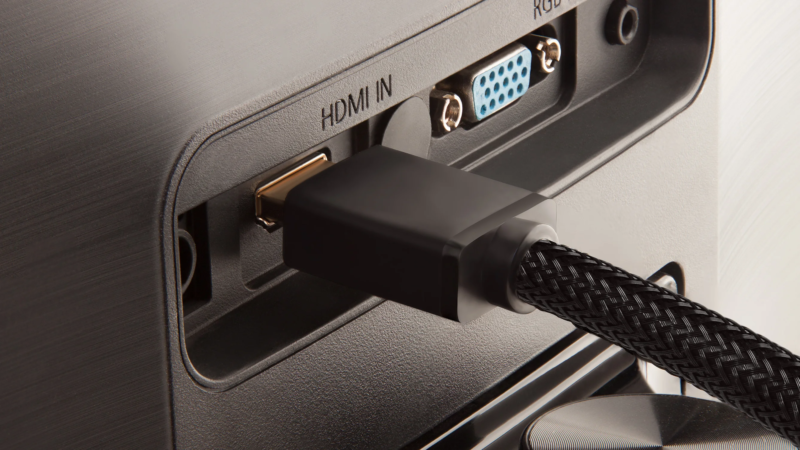
Check Your Camera’s HDMI Output Port
Before you start connecting your camera to your computer, make sure to locate the HDMI output port on your camera. Most Canon cameras have a Type-C mini-HDMI port, which looks like a smaller version of a standard HDMI port. Depending on your camera, the port may be located in the manual.
Check Your Computer’s HDMI Input Port
You will need to check your computer’s HDMI input port once you find your camera’s HDMI output port. Most modern computers come with an HDMI input port, which is typically located on the side or back of the device. Your camera may need to be connected with an HDMI-to-USB adapter if your computer does not have an HDMI input port.
Connect the HDMI Cable
Once you have located both the HDMI output port on your camera and the HDMI input port on your computer, connect the two devices using an HDMI cable. It is essential that you use a high-quality cable in order to ensure the best possible signal transfer. The HDMI cable should be inserted into the HDMI output port on your camera, and into the HDMI input port on your computer.
Turn on Your Camera and Computer
Now that your camera and computer are connect, turn both devices on. Your computer should automatically detect your camera and display a live feed of the camera’s viewfinder on the screen. The display settings on your computer may need to be adjusted if your computer does not detect the camera.
Adjust Camera and Computer Settings
Once your camera is connect to your computer, you may need to adjust the settings on both devices to get the best results. On your camera, make sure to set the HDMI output mode to “Auto” or “Movie” mode, depending on your camera model. On your computer, make sure to adjust the display settings to match the resolution and aspect ratio of your camera’s output.
Use Your Computer as a Live Monitor (Optional)
If you want to use your computer as a live monitor while shooting, you can do so by using a compatible software program. Many Canon cameras come with their own software, such as EOS Utility or CameraWindow, that allow you to control your camera from your computer and display a live feed of the viewfinder. You can also use a third-party software, such as OBS Studio or Adobe Premiere, to monitor your camera feed on your computer.
How to Connect Canon Camera to Computer as Webcam?
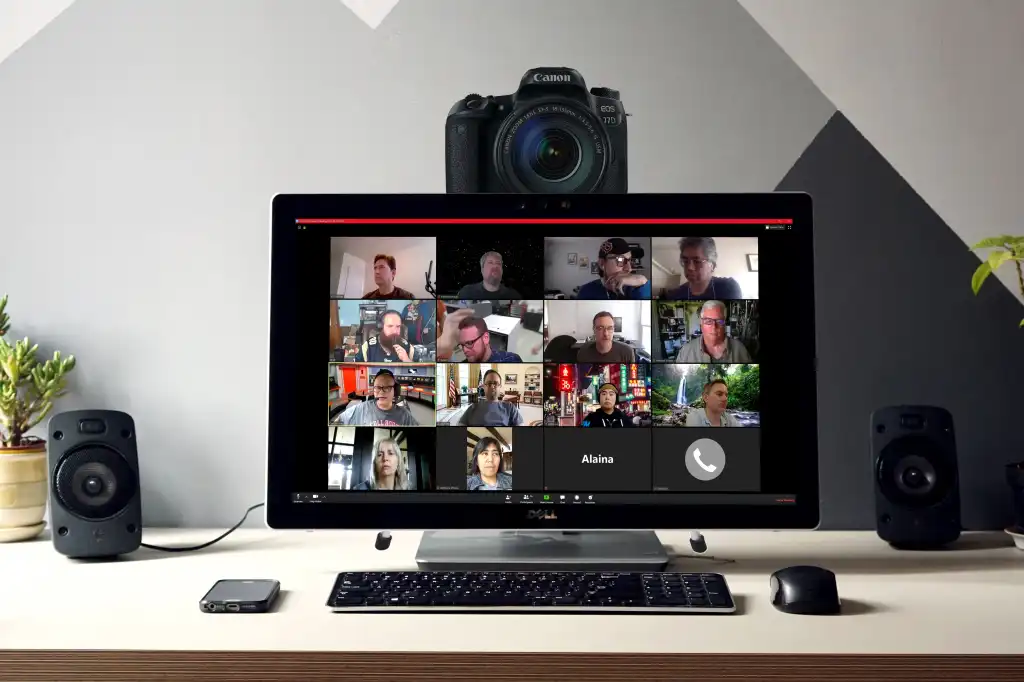
Connecting your Canon camera to your computer as a webcam can be a great way to enhance your video conferencing and streaming capabilities. With just a few simple steps, you can use your Canon camera to create high-quality video content that will impress your audience. Here is how to connect your Canon camera to your computer as a webcam, broken down into easy-to-follow steps:
Step 1: Check Your Camera Compatibility
Before you begin, make sure your Canon camera is compatible with your computer. You can check your camera’s compatibility by visiting Canon’s website and looking up your camera model.
Step 2: Install the Canon Webcam Utility Software
Obtaining and installing Canon Webcam Utility is the next step. Canon camera users can use this software to use their cameras as webcams. You can download the software from Canon’s website, and the installation process is straightforward.
Step 3: Connect the Camera to the Computer
Your Canon camera should be connected to your computer via a USB cable. Turn on your camera and select “video mode.”
Step 4: Set Up Your Camera in the Canon Webcam Utility
Once your camera is connected, open the Canon Webcam Utility software. As soon as your camera is listed, you should be able to use it. Select your camera and adjust the settings to your liking.
Step 5: Choose Your Camera as Your Webcam
In your video conferencing or streaming software, select your Canon camera as your webcam. Your computer should recognize your camera as a webcam, and you can start using it to create high-quality video content.
Final Words
In conclusion, connecting your Canon camera to your computer is a simple process that involves having the necessary equipment, such as a USB cable, and installing Canon software on your computer. By connecting your camera to your computer, you can easily edit and store photos and videos. This allows for greater flexibility in managing and accessing your photography work, whether you’re a professional photographer or a hobbyist. With just a few steps, you can Connect your Canon camera to your computer and enjoy the benefits of seamless photo management.
Also Recommended: How to Unlock Schlage Lock Without Key?
FAQs about How to Connect Canon Camera to Computer
Here are some FAQs related to How to Connect Canon Camera to Computer:
How do I connect my Canon camera to my computer wirelessly?
To connect your Canon camera to your computer wirelessly, you need to have a camera that has built-in Wi-Fi capability or a Wi-Fi adapter. Wi-Fi connections should be established between both devices. After that, you can wirelessly transfer photos from your camera to your computer using Canon software or an app from a third party.
How do I transfer photos from my Canon camera to my computer?
Connect your Canon camera to your computer with a USB cable compatible with your camera so that you can transfer photos. Your computer should detect the camera and prompt you to download and install any necessary drivers. Once installed, you can access your camera’s files through your computer’s file explorer or Canon software, allowing you to transfer photos from your camera to your computer for editing or storage.
How do I connect my DSLR camera to my computer?
The USB cable that comes with your DSLR camera should be compatible with the computer. Your computer should detect the camera and prompt you to download and install any necessary drivers. Once installed, you can access your camera’s files through your computer’s file explorer or Canon software, allowing you to transfer photos and videos from your DSLR camera to your computer for editing or storage.